

How to Fix Uneven Paint and More
Even experienced DIYers encounter common painting problems like streaky coverage, peeling paint, or a few drips down the wall. But not to fear; we'll walk you through identifying what went wrong and how to fix it.
How to Fix Uneven Paint on Walls
Uneven-looking paint jobs can be fixed, or better yet, avoided altogether.
Patchy Paint and Uneven Coverage
Why it happens:
The surface wasn’t patched or primed correctly. Clean, patch, and prime the entire surface before applying that first coat of paint.
Painting in different directions. Paint in long, even strokes or the paint can end up unevenly applied.
Old paint. Spot painting an existing wall can lead to a color mismatch. Painted walls can change color slightly over time, due to direct sunlight or just age. Old paint can also go bad. On average, an open can of latex paint only lasts two to ten years, even with ideal sealed storage in a cool, dark location. Paint that looks especially separated, is chunky, moldy, or has a foul odor should be properly disposed of.
How to fix it:
Try additional coats. Calculate how much you’ll need for your project. Most manufacturers recommend two coats of paint.
Go back to prep. Fix any surface issues before that first coat of paint. Use fine sandpaper (like 220-grit) on the area, then use a lint-free cloth or damp rag to remove any dust. Use a primer and then apply paint.
Note surface changes. Are you trying to cover different materials? Drywall will take on paint differently from spackle or plaster. Covering all surfaces with a primer first can help to achieve even results.
Paint Flashing and Uneven Sheen
Interior paint comes in a range of sheens, from flat (matte) and eggshell (satin, low-sheen), to semi-gloss (moderate reflection) and gloss (high-reflection). If your finished wall looks dull or chalky, or if the surface has a gritty feel to it instead of smooth, then you have paint flashing occurring.
Why it happens: Flashing can happen when you apply paint unevenly or over a porous surface that wasn’t properly primed, or when your painted surface is exposed to a lot of condensation or humidity while drying.
How to avoid it: Extremes can cause flashing, including too much or too little humidity, too much paint on the brush, or extreme heat or sunlight while painting.
How big is the fix? If the flashing is only showing in a few spots, you can sand these areas down, clean off dust with a damp rag, and prime and paint again properly. If your whole painted area isn’t right, then you will unfortunately need to scrape off the paint and start over.
Ensure a good sheen. Mix paint completely, paint in cool temperatures and moderate humidity, and let surfaces dry evenly. Prime and apply paint in several small coats.
Roller Marks, Drips and Brush Strokes
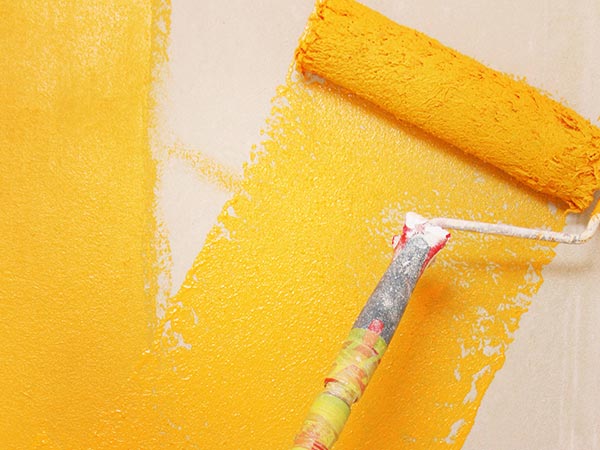
Why it happens: The tools you use make a big difference in the final painted product, and that starts with brushes and rollers.
The wrong nap. The length of a paint roller’s fibers is known as its nap. Smooth surfaces, including newly plastered walls or new drywall, require a short nap roller (about 1/4-inch long). Semi-smooth surfaces, including ceilings or lightly textured walls, use a medium nap roller (about 3/4-inch long). And extreme surfaces, including popcorn ceilings or stucco and brick walls, need a long-nap roller (about 3/4-inch to 1-inch long).
The wrong applicator. Old brushes make for bad paint jobs. Use synthetic bristle brushes for latex paints and natural bristles for oil-based paints. Choose your applicator – brush or roller – to match where you’re painting. Large areas like ceilings or walls are best left to a roller. Tight spots beside trim or in corners require a straight or angled paint brush. Tip: Brush paint on the tight areas before using the roller.
Heavy or multi-direction painting. Load your brush or roller evenly – not too much or too little. Use a standard W-shaped or M-shaped motion to roll on paint; use a brush in long strokes up and down or side to side.
How to fix it: Extensive brush or roller marks will require sanding, cleaning, and starting the entire paint job over again. Fix small marks by lightly sanding the spot, then clean and brush on a light coat of paint.
How to Fix Bubbling Paint and Address Peeling and Cracking
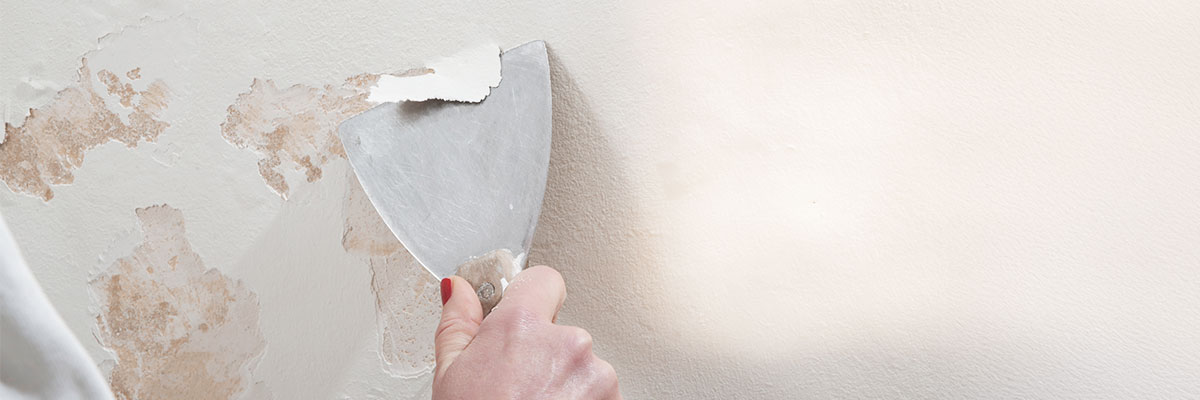
Problems like peeling curls of paint, bubbling spots underneath, or cracks in paint start with the surface underneath. Always check for mildew, contaminants, or water damage before painting.
Why it happens:
Not enough prep. Before painting, always clean, repair, and prime your project areas. Likewise, make sure you have the right type of roller and brushes, and that your paint is well-mixed and not too old.
A heavy, rushed hand. Too much or too little paint on your brush can cause cracks. And gloopy paint can dry into cracks if you don’t let coats properly dry.
How to fix peeling paint:
Large, damaged areas will require scraping, sanding, and repriming and painting.
Avoid extreme moisture. Too much humidity can lead to paint problems like peeling. Make sure your room has enough ventilation, especially in high-humidity areas like bathrooms or laundry rooms, to preserve your paint job. Water damage or widespread mold will require repairing or replacing the entire damaged surface before painting.
Get Your Painting Project Back on Track with Help from McCoy’s
A trip to the paint aisle can be overwhelming. Let the experts at McCoy's help you get the right tools and best advice for your next paint project.