


DIY with McCoy’s: Installing Shiplap or Beadboard
Installing shiplap boards and beadboard is an inexpensive, easy way to spruce up any room in your home. Shiplap and beadboard walls enhance not only your home’s look but its functionality too. Both types of wood panels provide some added protection to your walls - especially against the wear and tear from children and pets.
You can create a shiplap accent wall in your entryway or a new focal point above your fireplace. Want a new look for your living room or study? Install beadboard wainscoting. You can even makeover a bathroom or guest bedroom. Let’s look at the differences in these products and review some tips to get you started on your project.
What is Shiplap and Beadboard?
Shiplap boards originated in shipbuilding history. As the name states, shiplap boards were originally planks used to lay floors on ships and were butted edge-to-edge or laid in an overlapping style for strength. Later, shiplap boards were used as exterior siding on houses, and eventually shiplap became a popular interior style of wall covering.
Shiplap boards are long, narrow boards with rabbeted (or cut) grooves in the top and bottom of their long sides. These grooves are the key feature of the boards, which give them the distinctive lines. The grooves allow the boards to be self-spacing for an easy installation, and form a tight bond, which also allow for expansion and contraction. This was developed to have room for joints in the ships to expand when they got wet, making the ship watertight.
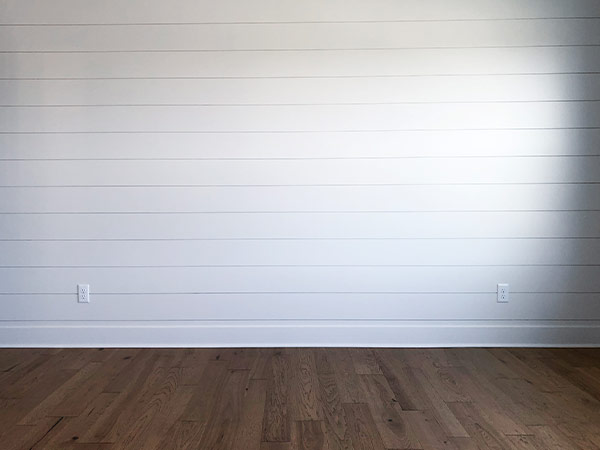
Shiplap is made of pine or cedar. While it is traditionally installed horizontally, you can install it vertically, or even diagonally for an artistic, modern look. You can paint it or stain it any color you would like. Or even leave it a natural wood color. but if you leave it, it is a good idea to seal it.
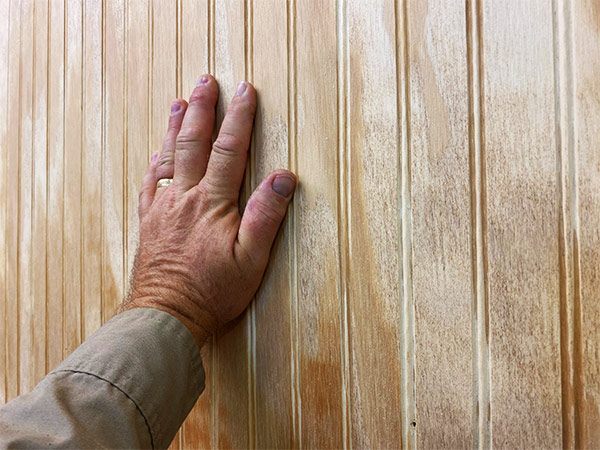
Beadboard is large panels of wood siding. It is “beaded,” which means that it has grooves cut into it about every two inches. It is also made of wood and is usually installed vertically for wainscoting, which is panels or boards that are installed on the lower half of a wall and topped by a horizontal trim or chair rail. Like shiplap, you can paint or stain it to match your decor. Beadboard comes in a variety of materials including plywood, white birch, and knotty pine.
What Do I Need to Install Shiplap and Beadboard?
To make the project go smoothly, you'll want to make sure you have the following tools and supplies:
Tools:
Supplies:
- Shiplap or Beadboard
- Nails
- Glue or adhesive
- Cap rails and/or new baseboard (for wainscoting)
- Paint or Stain
- Paint Brushes
- Drop cloths
How Do I Install Shiplap or Beadboard?
The process of installing shiplap and beadboard is straightforward, which makes it a great weekend project. Here are a few basic steps to remember.
After you have purchased the panels you need, allow the boards to sit in the room where you will install them for 7-10 days to let them to acclimate to the temperature and humidity of the room. This will help prevent shrinkage and warping of the wood panels. While the boards are acclimating, you can remove any baseboards or crown moulding from the walls where you will install the panels.
The next step is to paint any uncovered part of the wall before installing your panels, so you don’t get paint on your newly installed shiplap or beadboard. This step isn’t necessary if you’re covering the entire wall.
Then it’s time to cut and install your panels. You can use your own miter saw, or have McCoy’s cut your panels to size for you once you have all your measurements.
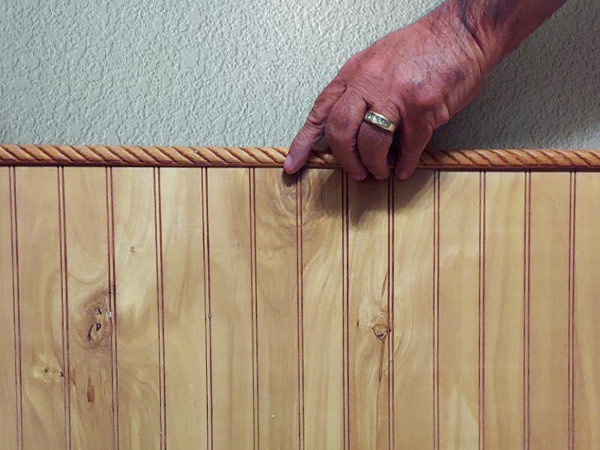
Use a stud finder to find the studs in your walls and lightly mark them. Nail the panels directly into the studs through the drywall. You can fill in the nail holes with putty once you are done nailing them. If you are installing panels on a ceiling, you can apply adhesive too. If you are installing beadboard as an entire wall or wainscoting, you may want to install cap rails and baseboards after installing the beadboard.
Once you have all your panels installed you can finish the edges, trim the corners, ceilings, and floors. Finally, paint or stain your panels. Depending on the type of coverage of paint or stain you want, you may need a second coat.
Whether you want to cover an entire room and ceiling, or simply add a rustic touch to one wall, installing shiplap and beadboard is a budget-friendly, easy DIY project that will have you wondering why you didn’t do it sooner! If you have any questions, come see us at McCoy’s and one of our experts will be happy to help you.