McCoy’s Kid Project: Custom Outdoor Wooden Sign
An outdoor wooden sign is the perfect welcoming accent to any home. Plus, it’s a great beginner project any McCoy’s Kid can tackle with just a little supervision. The possibilities are endless for creating a 2-sided outdoor wooden sign that will greet everyone who comes to visit. Follow these simple steps to create your custom outdoor sign. Let’s get started!
Planning Your Project

First, think about where your outdoor wooden sign will go. Will it hang next to your front door? Or lean on your porch near a window? Will there be other pieces of décor around your outdoor wooden welcome sign? For this custom sign project, we wanted something tall and a bit narrow to dress up the entrance to our home while leaning against the wall so we went with a board that was three feet tall and nine inches wide.
You can also use this time to brainstorm what your sign will say. Maybe your family loves fall and Halloween so you could do a two-sided outdoor wooden sign with a leaf and a jack-o-lantern. Or maybe you want a year-round option with a paw print in honor of your favorite pet. Sketch out some ideas to guide your project. When it’s time to paint, look at your sketch and take some measurements to make sure your lettering is in exactly the right spot.
It’s important to have a good work station in mind before you start your project. A kitchen table covered with a drop cloth will work for most of the project, but you’ll also want to have a clear space outside like a patio or table for staining and sealing your personalized wooden sign.
Step 1: Gathering Supplies
You might have a scrap piece of wood in your garage perfect for this project. But you and your McCoy’s Kid can also head to your local McCoy’s to get a new board to create your wooden sign. We chose a 1x10x10 pine board. To keep things simple, we had the store cut the board to our preferred length for a minimal cost. While everyone is at the store, you can also pick up brushes, painter’s tape, paint, stain, sand paper and even goggles, a dust mask if needed, and a drop cloth for your project.
- Pine board
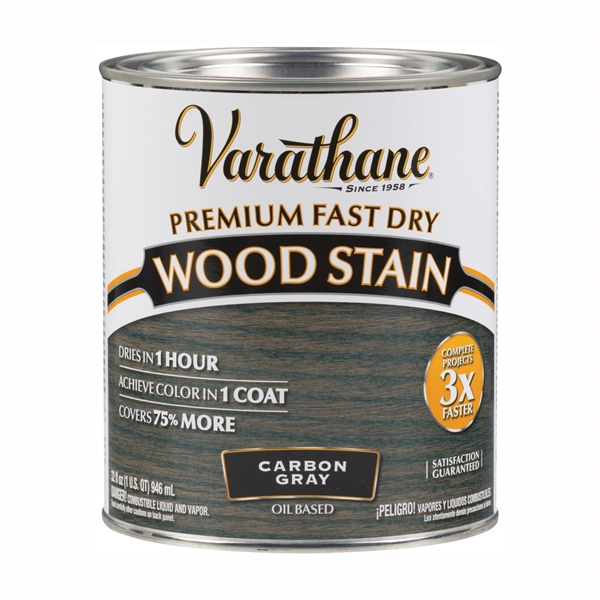
- Stain
- Paint
- Painter's tape
- Sealer
- Stencils available at most craft stores

Step 2: Sanding Your Board
Once you have your supplies gathered and your work space set up, you can get started on the first step of the project. Sanding your board! This is something that most older kids (about 8 years and up) can do with basic guidance from Mom or Dad. Just rub the rough side of the sandpaper all over the board until your pine board is silky smooth. Little pieces of wood dust will fly around so this is best done outside, and it's a good time to wear your goggles and mask!
After your board is completely sanded, wipe it down with a damp cloth to collect any pieces of sawdust clinging to the board. The board will dry quickly and you’ll be ready for your next step in creating your outdoor wooden sign – staining.
Step 3: Staining Your Board
Stains can be messy! This steps requires adult supervision and a steady hand. You want to make sure your workspace has lots of ventilation (windows open and fans blowing) or if the weather permits, you can take your pine boards outside to stain. You’ll just need a steady place to lay them like on a table while they’re being stained.
Lightly dip a clean rag into the stain and working in a slow, steady motion rub the stain in long strokes onto your board. It’s always best to start with a small amount of stain and add more as you go than to start with too much and end up with a sticky, gloppy mess! You want to stain the front of the pine board and the edges, let it dry completely (overnight may be best) and then flip it over to stain the other side. Staining both sides of the board lets you create two versions out of one pine board.
![]() Wearing disposable gloves while staining will help keep your hands clean.
Wearing disposable gloves while staining will help keep your hands clean.
![]() Wearing disposable gloves while staining will help keep your hands clean.
Wearing disposable gloves while staining will help keep your hands clean.
Step 4: Painting Your Board
Step 4: Painting Your Board
Once the stain on your board is completely dry, it’s time to paint! There are a few ways to approach painting your sign. If you’re comfortable free-handing letters, you can pencil them onto the board to provide a guide before you paint. If you want a more uniform approach to your letters and artwork, you may want to use a stencil. You can buy stencils specially designed for personalized outdoor wooden signs online or at your local craft store.
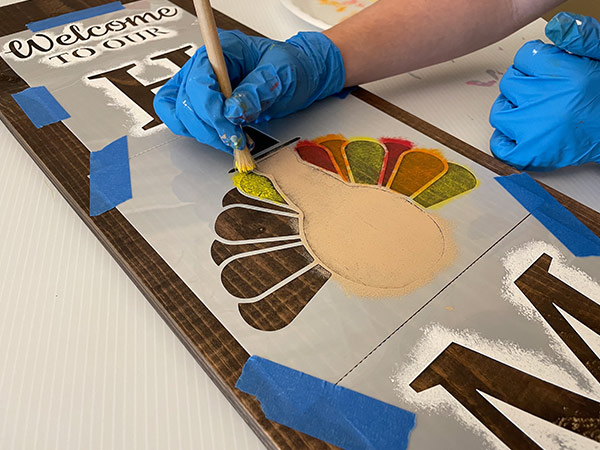
For our board, we chose a “Welcome to Our Home” stencil and decided to stencil a turkey in place of the “O” to create a piece of fall home décor. We measured the length of the board, spaced the stencils out so the lettering started about three inches from the top of the board, and ended about three inches from the bottom of the board. If your wooden welcome sign is going to sit on your porch, you’ll probably want to err on the side of having your lettering closer to the top of the board with more space at the bottom. It’s helpful to reference your sketch and take your time when deciding where to place your letters.
Once you decide where your letters will go, it’s time to carefully tape your stencil into place. It might work best for the McCoy’s Kid to hold the stencil while Mom or Dad tapes or vice versa. When painting your board, much like staining, you don’t want to use too much paint. It’s always easier to add paint than take away.
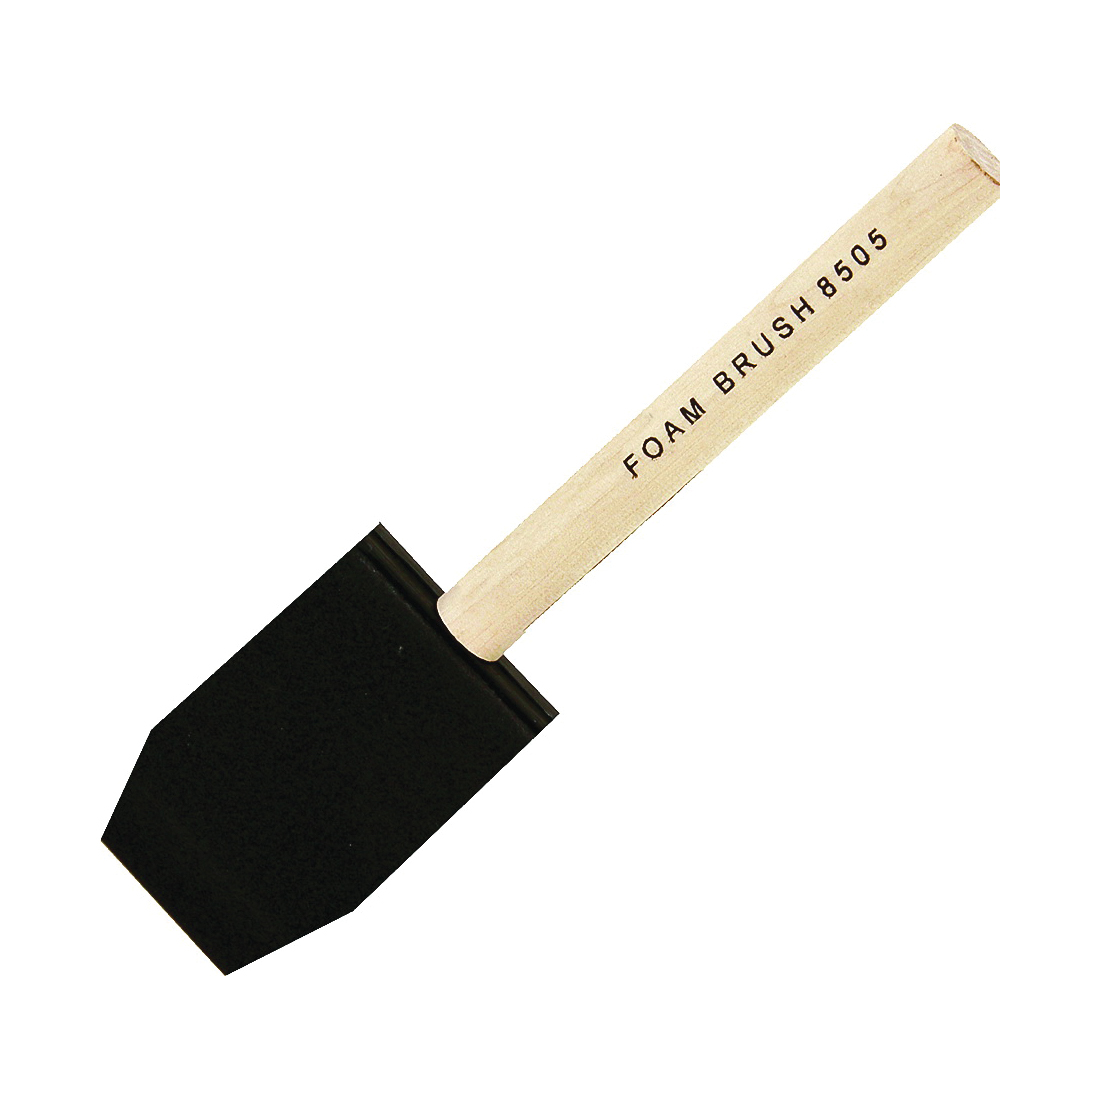
![]() For a more textured look, use a foam brush and lightly dab the paint onto the board. This will keep the paint from seeping under the stencil which results in messy edges on the lettering.
For a more textured look, use a foam brush and lightly dab the paint onto the board. This will keep the paint from seeping under the stencil which results in messy edges on the lettering.
When painting, lighter, brighter colors will provide a strong contrast to your darker stain. We painted our letters white with a beige turkey with fall colored feathers. It’s a great idea to paint a board with two items from holidays or seasons near each other like our fall leaf and snowflake or maybe a Valentine’s Day heart and a shamrock for St. Patrick’s Day.
Step 5: Sealing Your Board
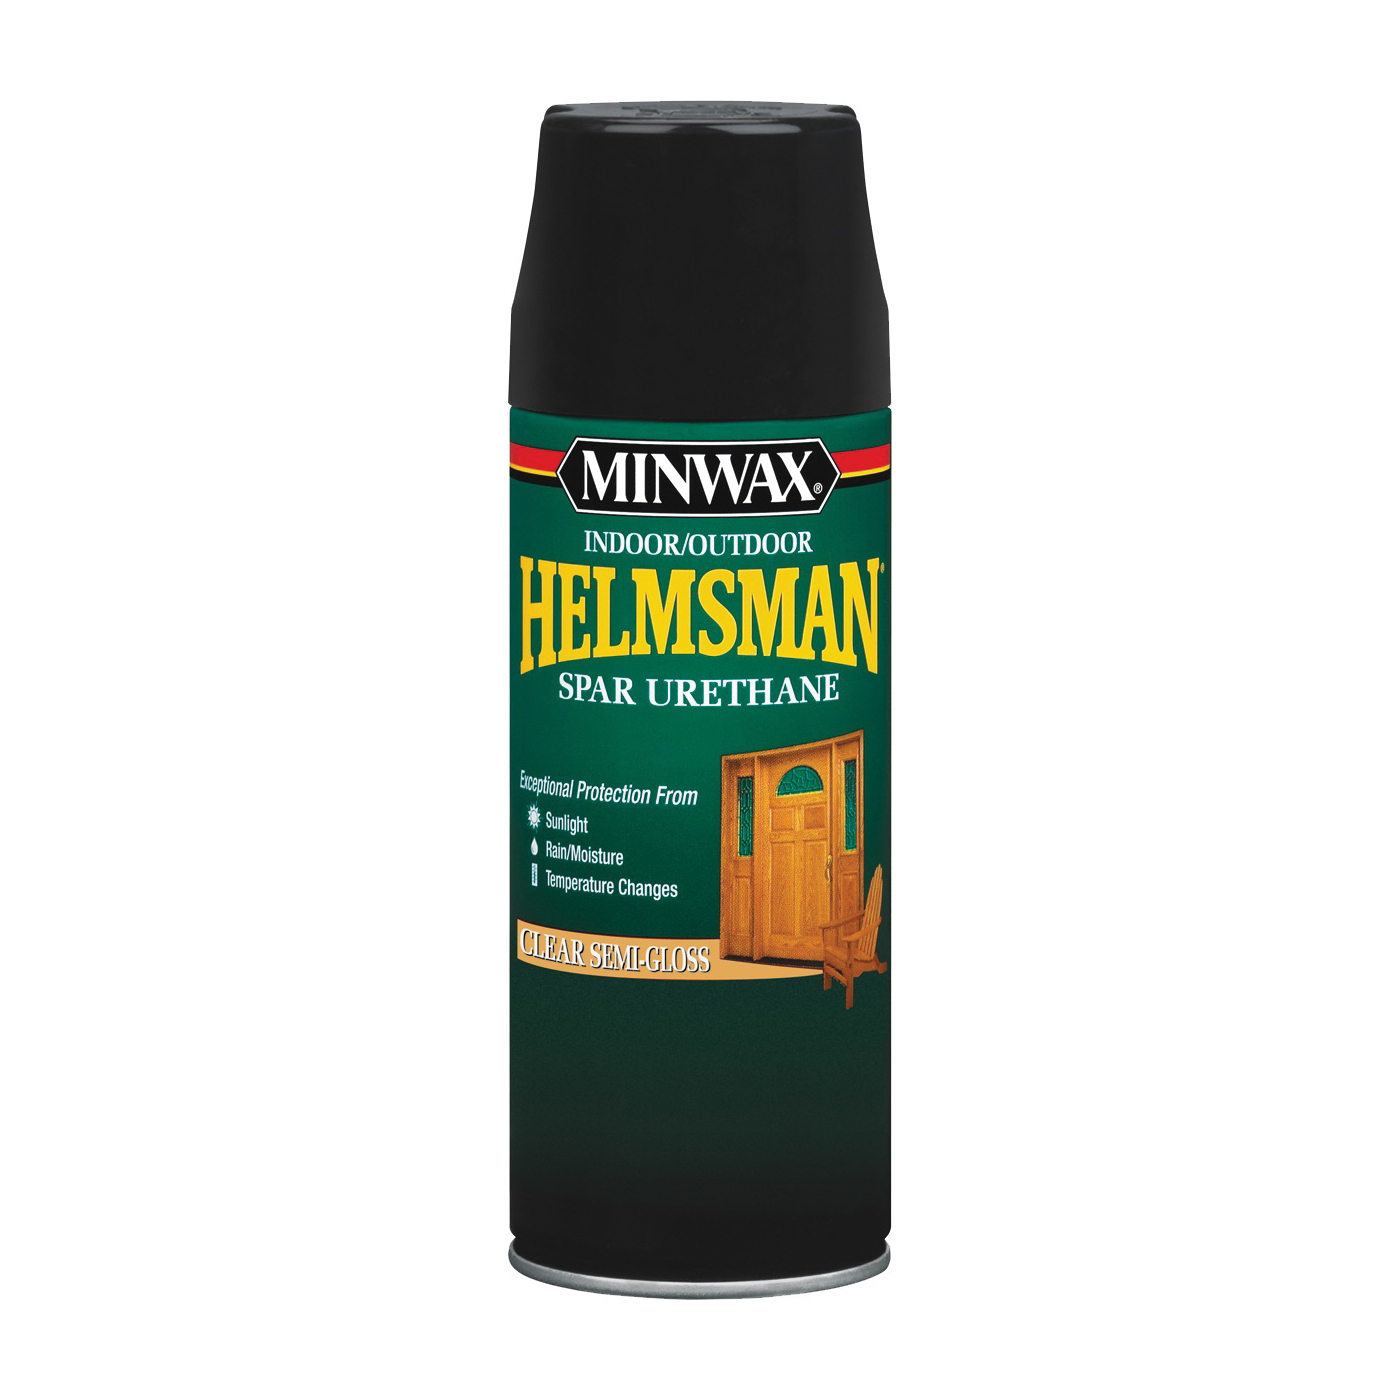
This last step is pretty important and also needs some adult supervision. Sealing the outdoor wooden sign will protect if from the elements so you can enjoy it for years to come! We used a Minwax® spray to seal the boards. This step needs to be done outside. Once you’ve sprayed the board, let it dry completely and it’ll be ready to display.
You’ve finished your custom outdoor wooden sign! The only thing left to do is lean it next to your door to greet everyone who visits. A personalized outdoor wooden sign provides a welcome piece of décor that’s fun to design and easy to make.