
7 Paint Roller Tips the Pros Use
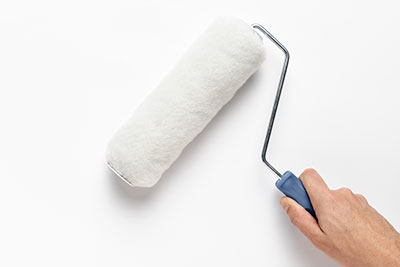
Painting a room in your home is a project most people tackle at some point. It might seem a bit daunting but with the right tools and techniques, you can get a beautiful, smooth finish. One of the most important tools is your paint roller. Selecting the right roller cover, and following a few basic rules in using it will give you a smooth, pro-quality result.
1. Select the Right Nap for Your Paint Roller
When we talk about choosing the right nap for paint, we aren’t talking about choosing the best time to take a mid-paint snooze! We’re talking about the length of fibers on the paint roller cover, which can affect the amount of coverage the roller applies on your wall.
If you are painting a smooth surface , you’ll need to use a short nap (1/4” or less) . For rough surfaces , you need a longer nap. This helps the fibers get into all the nooks and crannies of the texture on your wall. Using the wrong nap for your wall texture leads to a spotty paint job you'll have to cover with more coats of paint.
2. Protect Your Trim Before You Roll On Your Paint
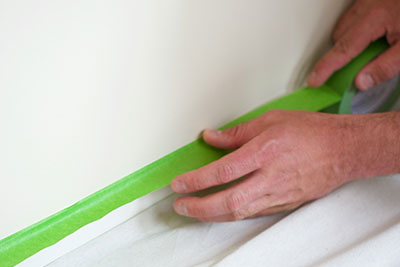 You worked hard to tape your baseboards, door jam, windowsills and ceiling so you get nice, clean lines when you paint. Once everything is mostly dry, you pull off the tape only to reveal that the paint had somehow gotten underneath and ruined your perfect lines (darn!). Fortunately, a little prep and know-how can help you ensure a tight seal from the tape and clean lines from the paint.
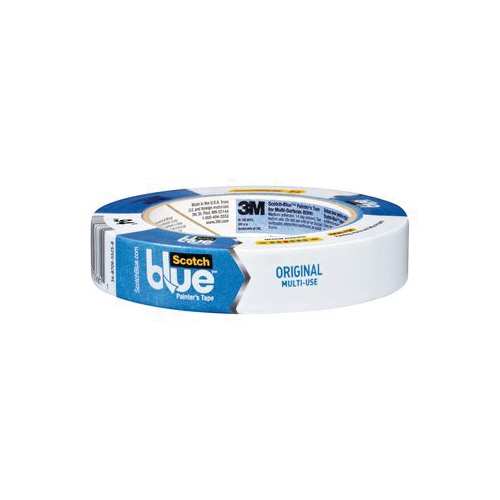
First, you want to start with painter’s tape not masking tape. Masking tape can absorb the moisture from the paint, causing it to lose its stickiness and let paint slide underneath. It can also leave behind sticky glue when you peel it off. Always start with a quality painter’s tape, such as Blue Painters Tape , Pro-Mask or FrogTape.
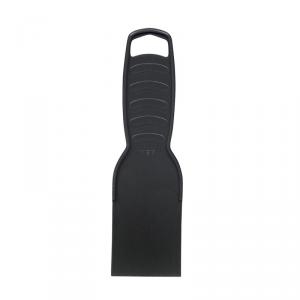
The second step in achieving crisp lines is to go over your tape with a flat, flexible tool like a putty knife or even a credit card in a pinch. Running this over your tape secures its grip on the surface, preventing paint from creeping underneath the tape.
TIMESAVER TIP: Don’t bother taping glass. It's incredibly hard to get those perfect seals with the tape. If you're using latex paint, it peels off cleanly once it's dry by using a utility knife to scrape it off.
3. Roll on the Primer First
Priming helps you get an even finish with fewer coats, so don't skip this step! White primer is good for white or light-colored paint. If you're painting a dark color, do what the pros do: choose a tinted primer. Using a primer that's a similar color to your final paint allows you to get the job done with fewer coats.
4. Even Paint Rolling Jobs Begin with a Brush
Paint rollers distribute the paint in thin, even coats and are much faster to use than a brush. With that said, you'll still need to use a brush to paint into corners and around trim. This is called "cutting in." You can cut in the entire room before you begin rolling if you are using latex paint.
5. Roll It on Right
When you're ready for rolling, make sure the paint is evenly loaded on the roller by dipping it in the paint tray. Remove excess by paint by rolling it on the ribbed area. Start at one corner of the wall and spread the paint in a "W" shape that's about three feet tall. Don't lift the roller from the wall. Reverse direction and fill in the unpainted areas. Reload the roller and apply paint to the next section.
When you have finished painting the entire wall, you'll want to blend the cut-in areas with the wet edge of your rolled areas. Run your roller (without adding any additional paint) along the four edges of the wall in one continuous stroke for each edge to eliminate brush marks and roller marks and to smooth the paint edges.
6. Save Your Paint Rollers
Whether you're painting multiple rooms, waiting for coats to dry or stepping out for more supplies, it's inevitable that you'll need to take a break while painting. When you take a break, you must decide if you're going to clean the roller cover and watch valuable paint wash down the drain, or let it dry out and throw away the unusable cover.
Fortunately, there is a super simple hack you can use to save the roller cover and the paint so it's ready to go, all you need is a plastic bag. Simply take the plastic bag and wrap it tightly around the roller. Try to get it as airtight as possible. This keeps the air from getting into the bag and drying out the paint. Then, when you get back from your break, just pull the cover out of the bag and get back to it.
7. Roll When the Weather is Dry
While painting a room may seems like a great rainy-day project, that could be an invitation for problems. Even with your a/c running, the humidity in your home rises when it's wet outside. Your paint will take longer to dry. Even the thin coats of paint put on with a roller could drip or run.
If you must paint in humid conditions, make sure you take your time. If you roll the paint on in thick coats or go over problem areas multiple times, your paint may become wrinkly as it dries. Remember, slow and steady wins the race!
Paint Rollers and More
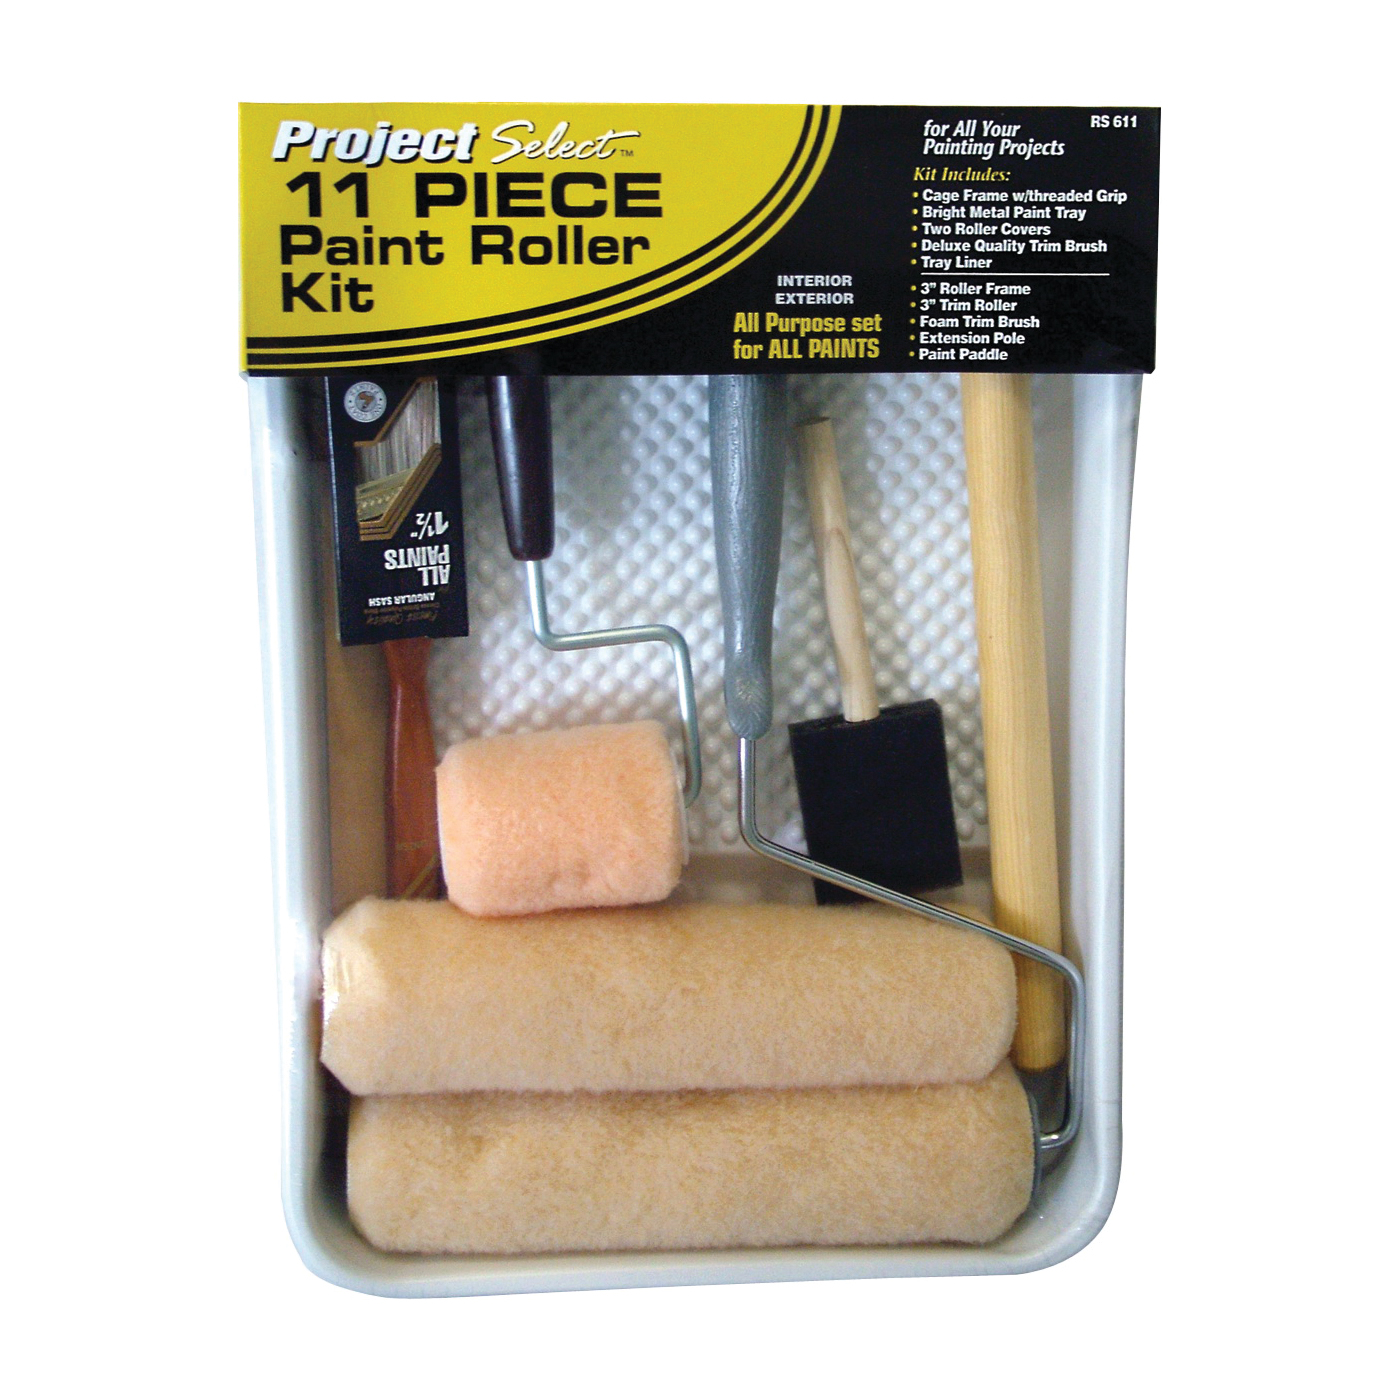
Using a paint roller to paint your interior walls can give you a professional finish and make a huge impact in the look of your home. You'll find all the tools you need from paint rollers, roller covers, paint trays, extension poles, and of course any paint color you want at your local McCoy's. Still not sure you can tackle this? Come on in; we're here to help.

