Flood Cleanup: First Steps to Reclaiming Your Home
It feels devastating when floodwaters enter your home. Still, the truth is flooding is pretty common in the McCoy’s states. While there’s no denying that flood cleanup is work, in most cases you CAN reclaim your home if it’s been flooded. What you’ll ultimately need to do depends not only on the amount of actual damage to your home but on the overall extent of the flood as well as any local restrictions on rebuilding or renovating in the aftermath.
Here are the first steps to take in flood cleanup and getting your home back in shape.
Getting Started on Your Flood Cleanup
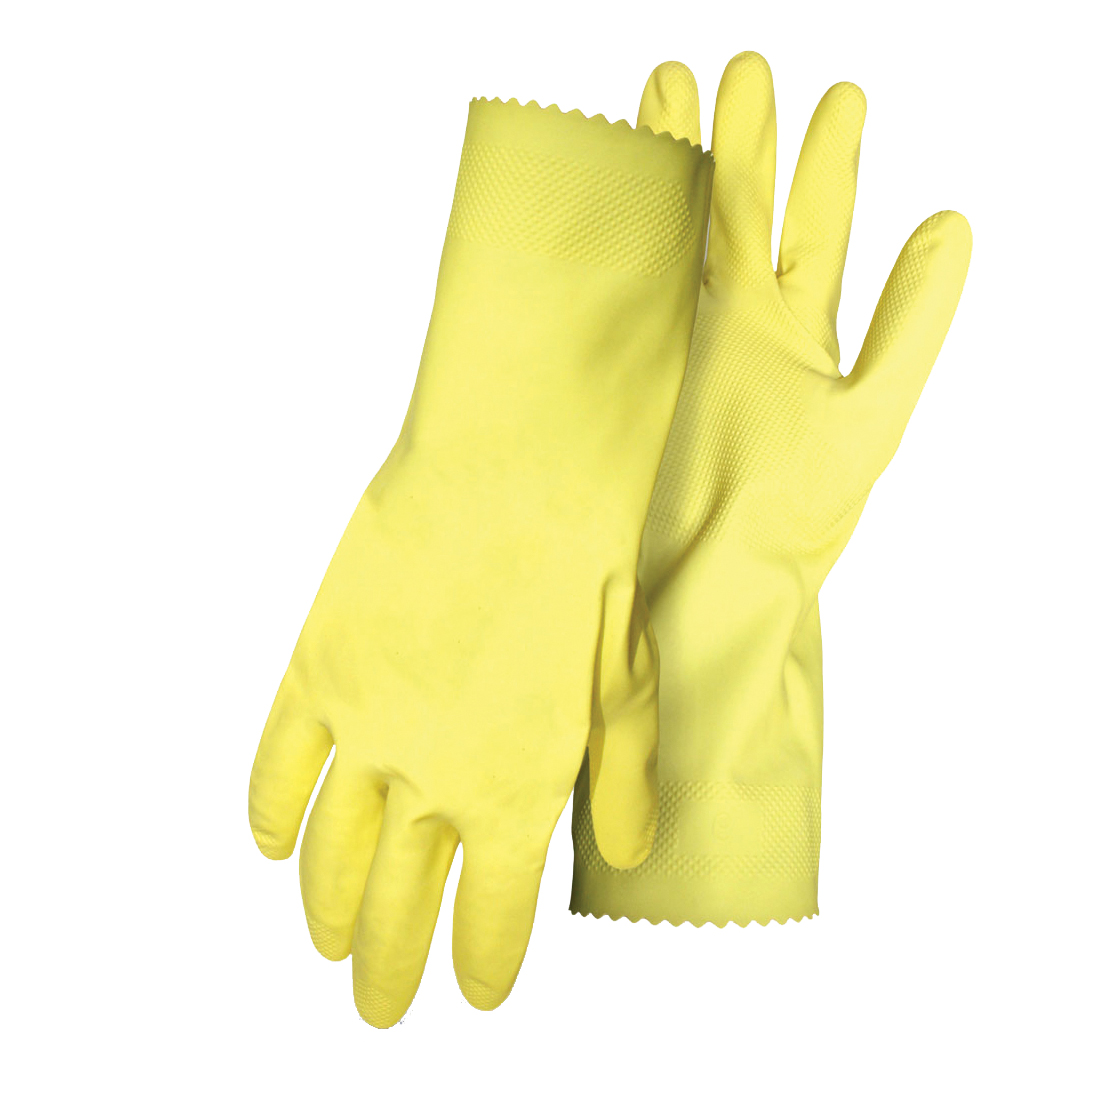
If you evacuated your home, wait until floodwaters have receded and you have the all-clear to return to the area. Contact your homeowner's insurance company before you return to find out if they are aware of the event and will be arranging for adjusters to visit the area. You’ll also need to assume any water that entered your home was contaminated with waste, so make sure you have waterproof boots and gloves, long pants, and long-sleeved shirts before returning.
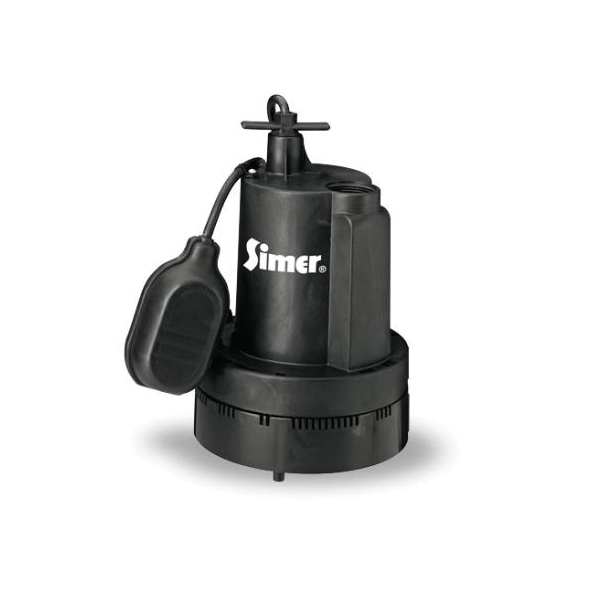
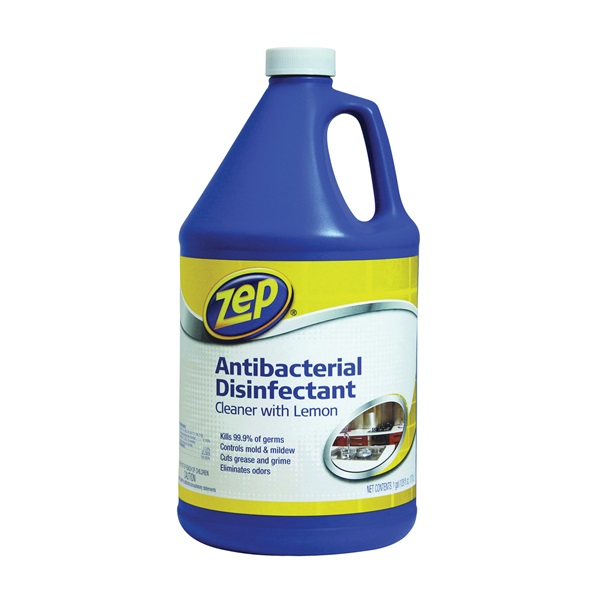
You’ll also want to gather flashlights or lanterns because electricity will probably not be available, push brooms, shovels, plastic bags, disinfectants, and a camera. You may need a portable generator and a sump pump as well.
Once you can return, evaluate the exterior of your home for any foundation cracks or obvious signs of structural damage like a bowed roof or walls. If you suspect structural flood damage, consider contacting a professional home inspector for help.
The Salvage Stage
Try to begin within 24 to 48 hours of the floodwaters receding. If you have determined your home is structurally sound and you can enter, here’s what you should do right away to start the cleaning and drying process.
- Open all the windows and doors .
- Divide wet materials into the two groups according to the guides below. Move these items outdoors if possible to make room for cleaning. If you can’t move them outside, place the salvage group in the least damaged room and create the discard group in the room that had the most damaged items.
- Items that may be salvaged:
- Plastic, metal, solid wood furniture
- Leather furniture that is not upholstered (sling chairs, for example)
- Fabrics that can be cleaned in a commercial washer
- Gas or electrical appliances (all should be professionally checked)
- Cabinetry in kitchens and baths
- Countertops
- Items to be discarded:
Keep these items until the adjuster has seen them or you have taken pictures, and verified photos are all you need for insurance purposes.- Mattresses
- Upholstered furniture, cushions, pillows
- Carpeting, large rugs, carpet padding
- Toys
- Items that may be salvaged:
Unfortunately, because you must assume the floodwater was tainted, it is safer to discard any toys touched by sewage-contaminated water rather than trying to disinfect them.
The Removal and Drying Stage
As soon as you have sorted the contents and made some space, you can get to work on the actual cleaning of the structure.
- Throughout
- Pump out standing water with a portable sump pump.
- Remove mud and debris washed in by the floodwaters with a shovel and/or push broom.
- It may same strange to add water, but you may find it helpful to remove silt with a power washer or garden hose.
- Be on the lookout for snakes or rodents that may have entered with the water.
- When electricity is restored, bring in as many fans as possible as well as one or more dehumidifiers.
- Arrange for a dumpster if needed.
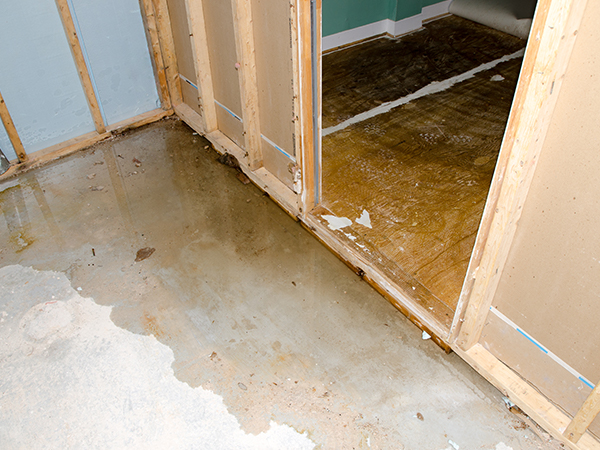
- Walls
- Remove your drywall at least one foot above the waterline.
- Consider opening a row of additional holes just below the ceiling to enhance airflow behind the walls using a drill and a spade bit.
- Discard wet batten insulation; foam may be dried if you can clean it. If not, throw it away.
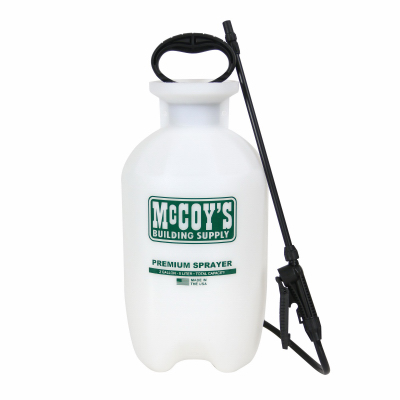
- Examine the wall studs. Clean and disinfect with a solution of one part bleach to two parts water using a pump sprayer.
- Recheck walls periodically while your home is drying to ensure mold doesn’t grow.
- Leave the walls open until your home is fully dry.
- Floors
- Tile may be salvageable, but it will depend on the integrity of the subfloor. You will likely need to open up a section to check for damage.
- Concrete will be salvageable. Because it is porous, it must be cleaned, disinfected, and dried.
- Wood flooring, due to warping, will almost certainly need to be replaced.
Making Flood Cleanup Manageable
While you will be eager to get back in your home, the flood cleanup process is time-consuming, and you’ll need to ensure your house is dry and sanitary before you begin repairs. Make sure the wall studs and subfloor are not even the slightest bit wet before adding in insulation and closing up the walls because any trapped moisture can lead to mold growth down the road.
You can use a moisture meter to help you determine when your home is ready. Ideally, the moisture level in any wood should be less than 16%.
Like our Born-to-Build customers, it’s in our blood to tackle DIY projects. But, we also know flood cleanup is a big project. If you can, get professional help to clean up after a flood and for water damage restoration so you can get your life back on track as quickly as possible. If you decide to tackle this, we’re here to help with supplies, advice, and just plain old moral support.